Immortal Rising 2 – How to Complete All of the Game-Related ORB Missions

Comprehensive Guide to Game-Related ORB Missions
For the purpose of missions have repeated messages, things like “XXX” will be referring to numbers.
- Before any of these quests can be completed, actually play the game and learn what this stuff is.
- Do your guide quests located in the top left of the game screen. there are roughly 170 of them to do.
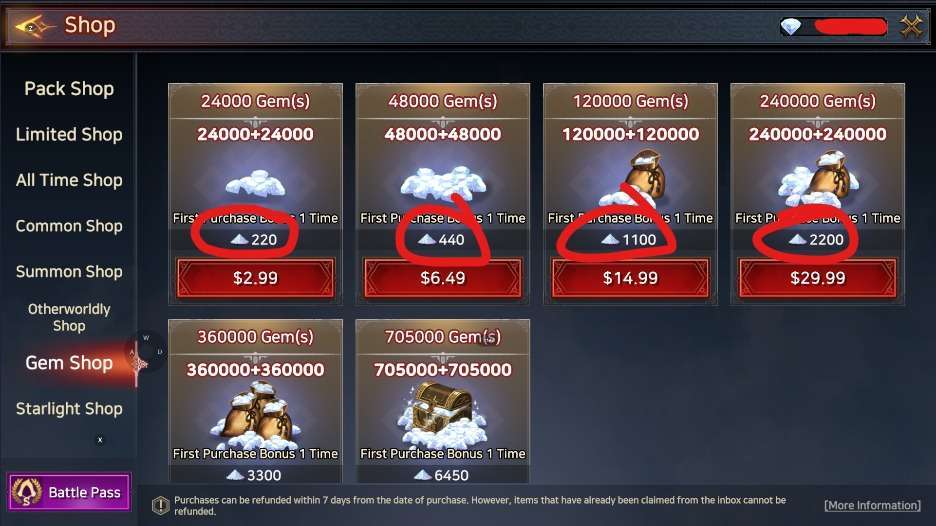
Spend XXX Stardust
You can get Stardust mainly by buying gems from the Gem Shop. You’ll also find it included in some packages from the Limited Shop and Pack Shop. Just remember to click the magnifying glass on packages to see if they include Stardust.
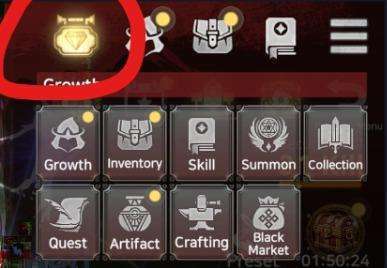
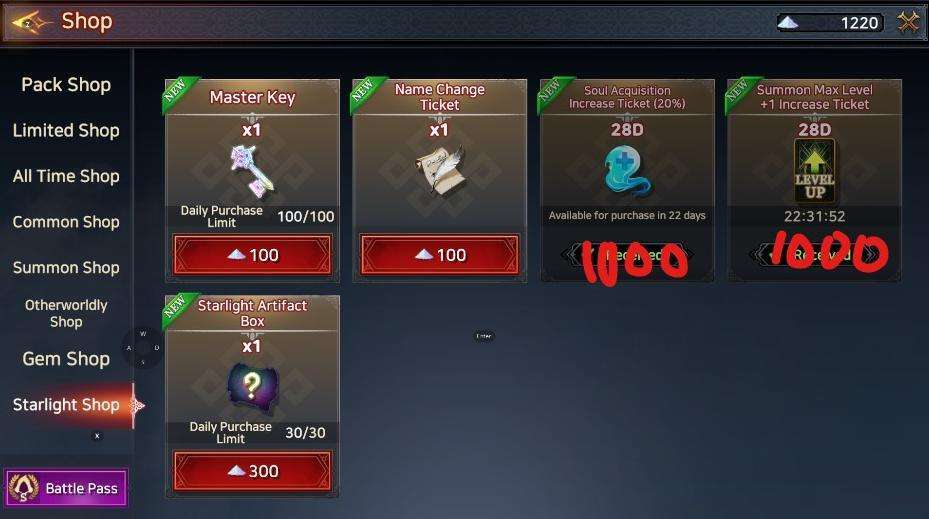
To use stardust, you go to the Starlight shop by clicking the bright yellow hanging sign with a diamond in the middle in the top left of the menu. You can buy one of 5 items there. Master Keys, Name Change Ticket, Soul Acquisition Increase Ticket, Summon Max Level +1 Increase Ticket, or Starlight Artifact Box.

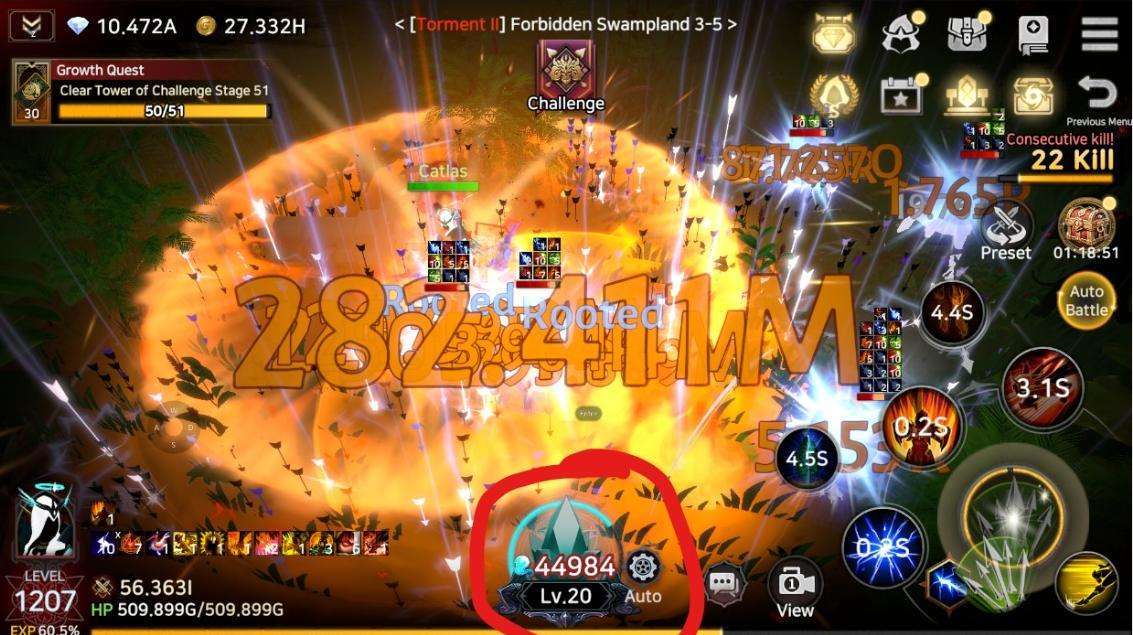
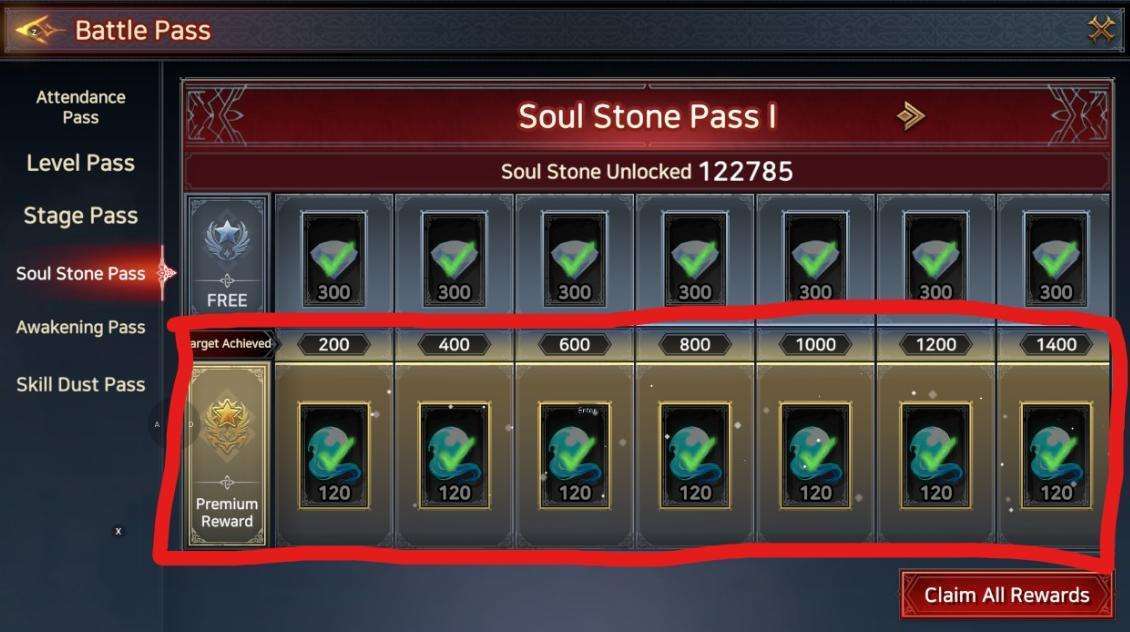
Reach Soulstone Level XX
In the bottom middle of the game screen, there is a blue crystal. This is the soulstone. It is a key game mechanic in obtaining gold, experience, and most importantly, symbols. To level up the soulstone, you can manually click the blue crystal or turn on the auto feature, which becomes available at soulstone level 3.
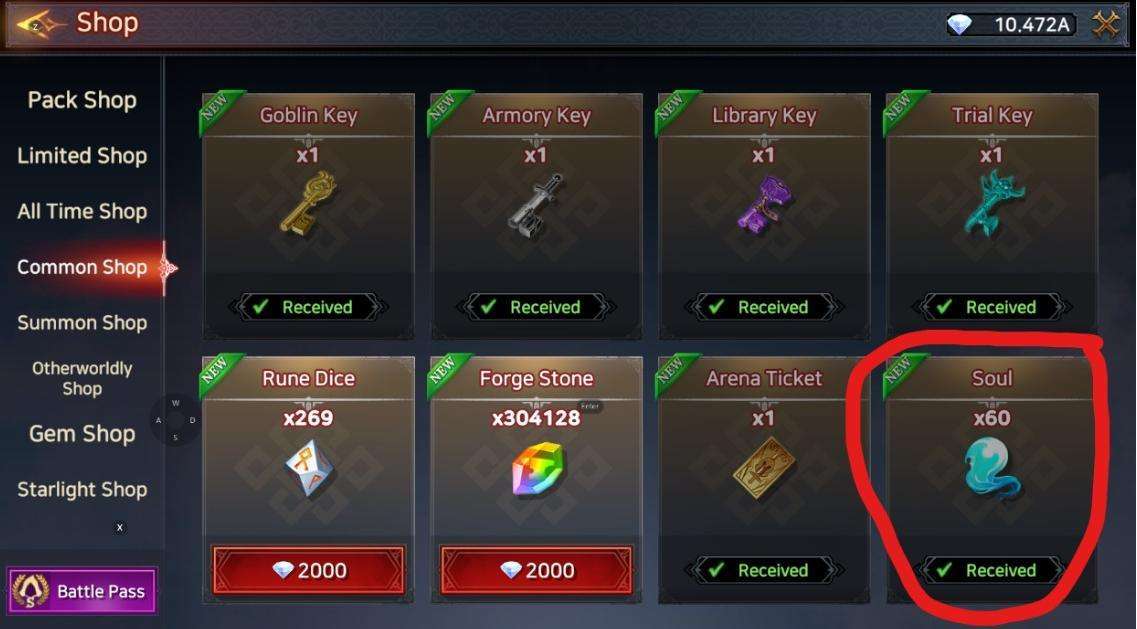
To be able to level up the soulstone, you have to use souls. Souls are obtained from growth quests, the common shop, event shops, the limited and pack shop (where you spend real money), and are rewards for pushing stages (aka doing the challenge in the top middle of the game screen).
Conquerer of Hell
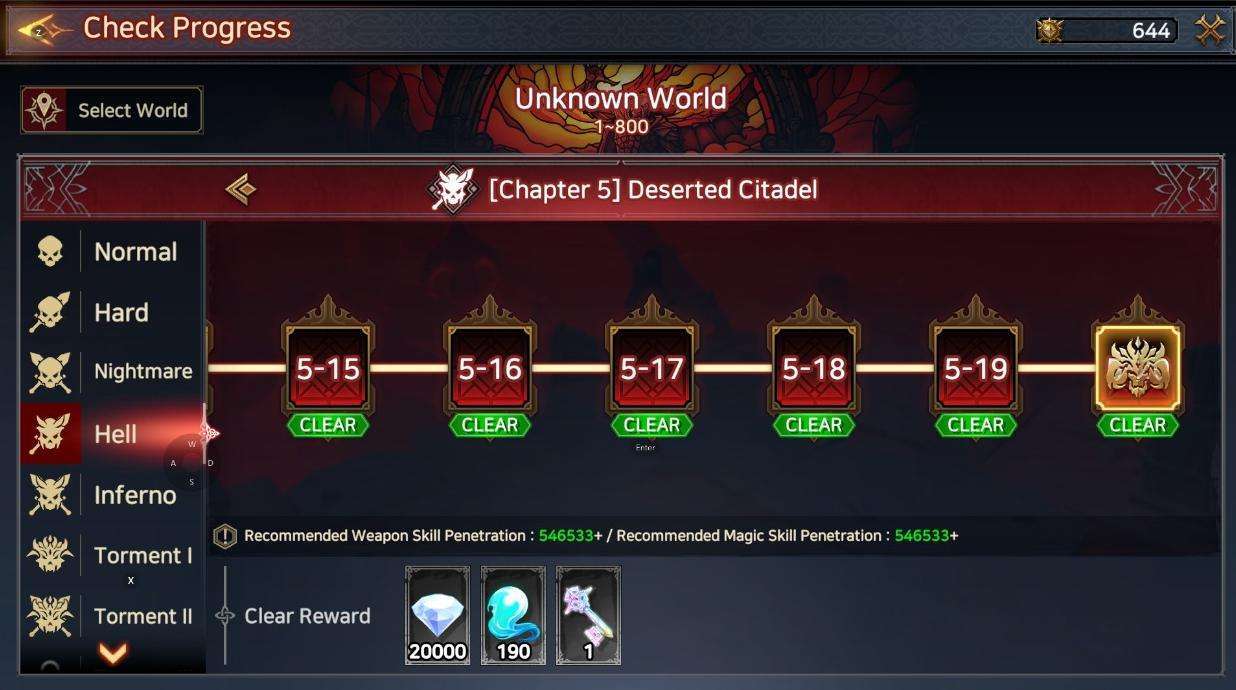
The game world is divided into different areas. You begin at the first level, Chapter 1-1 Silent Woods, in Normal mode. Every 20 levels, you enter a new area with different scenery, like woods, deserts, and swamps. Once you finish Chapter 5-20 Deserted Citadel, you move up to Hard mode.
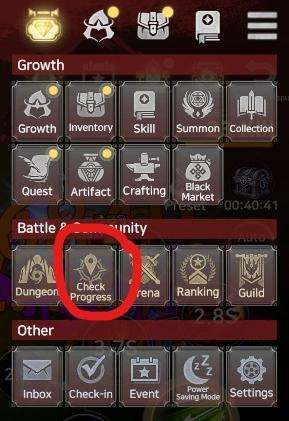
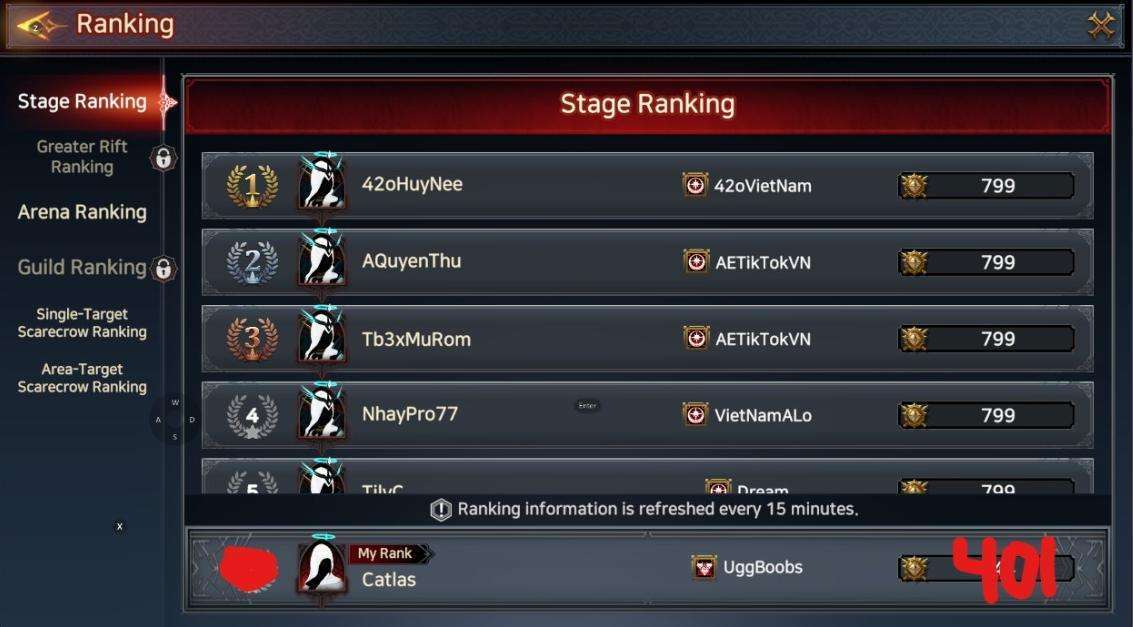
You can track your progress in the menu under “Check Progress.” Normal mode covers levels 1-100, Hard mode is levels 101-200, and it keeps going up. To get the title “Conqueror of Hell,” you need to beat 400 levels. Want to see how far you’ve gotten? Just check the “Stage Ranking” under the “Ranking” tab in the menu.
Complete All Dungeons (Stage XX)
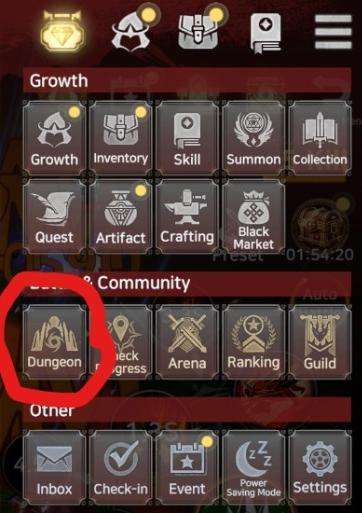
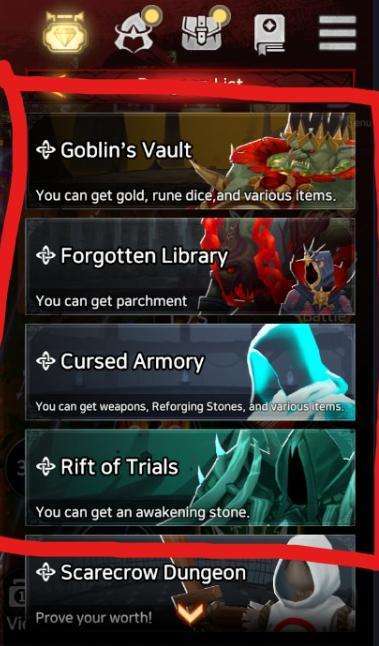
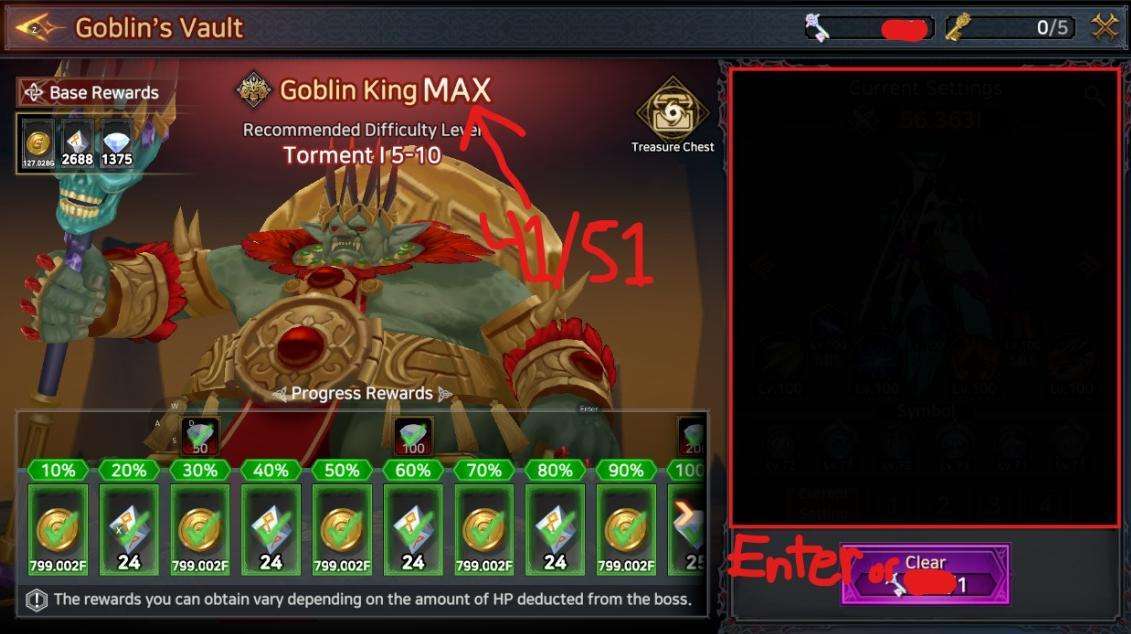
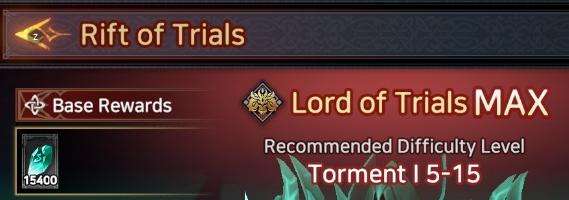
There are a total of 6 areas within the dungeon section. For these quests, you only have to worry about the first 4: Goblin’s Vault, Forgotten Library, Cursed Armory, and Rift of Trials. There are 2 options for these 4 dungeons, to either “Clear” or “Enter”.
Clear means to receive the rewards of the dungeon for the current stage you are on. Enter means to actually challenge the dungeon and try to progress in stages. Your objective is enter these dungeons as you play the game and are able to beat the bosses so you can increase your stages within the dungeon. When the number next to the dungeon boss says 41, that means you have beaten upto stage 40 and are able to challenge stage 41.
Awakening – S/SS/SSS
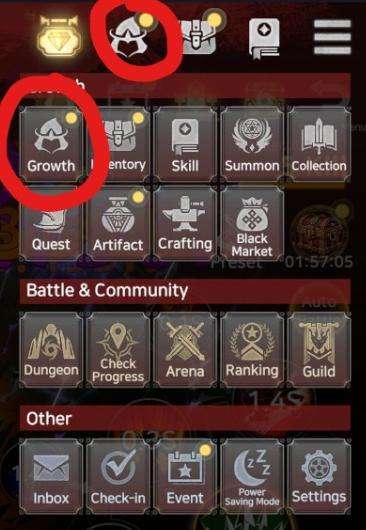
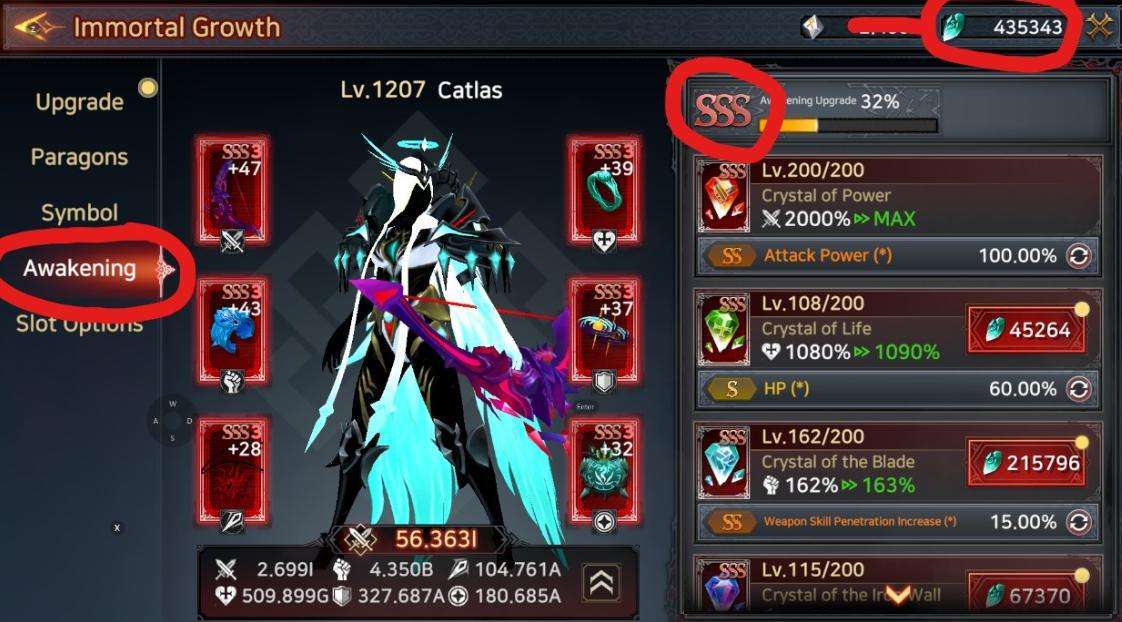
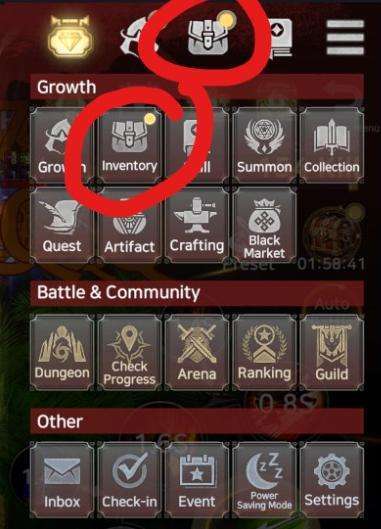
Awakening is another in-game mechanic to further improve and grow your character. To find awakening, go the menu, click the “growth” section (the icon with a Hood), and choose awakening on the left side. In the top right-ish, you will see either D, C, B, A, S, SS, SSS.
These are all of the levels of awakening for the immortal. To increase you awakening from D -> SSS, you need awakening stones. Awakening stones are acquired from the Rift of Trials dungeon.
Spend 20 Arena Tickets
- Disclaimer: This quest is only available for accounts that connected to the Lust server. Read at the bottom for information on Lust.
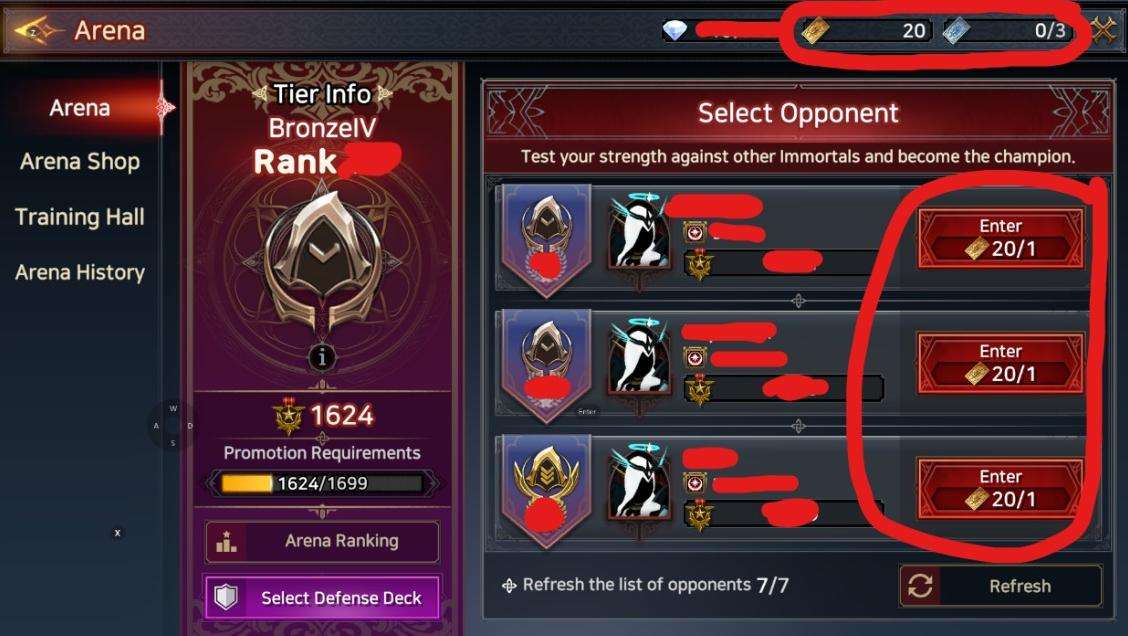
The arena is an in-game area where you can fight against other immortals. To get to the arena, go the menu and click arena (the icon with 2 swords crossed). To use an arena ticket, you will fight one of the three opponents the game has selected for you.
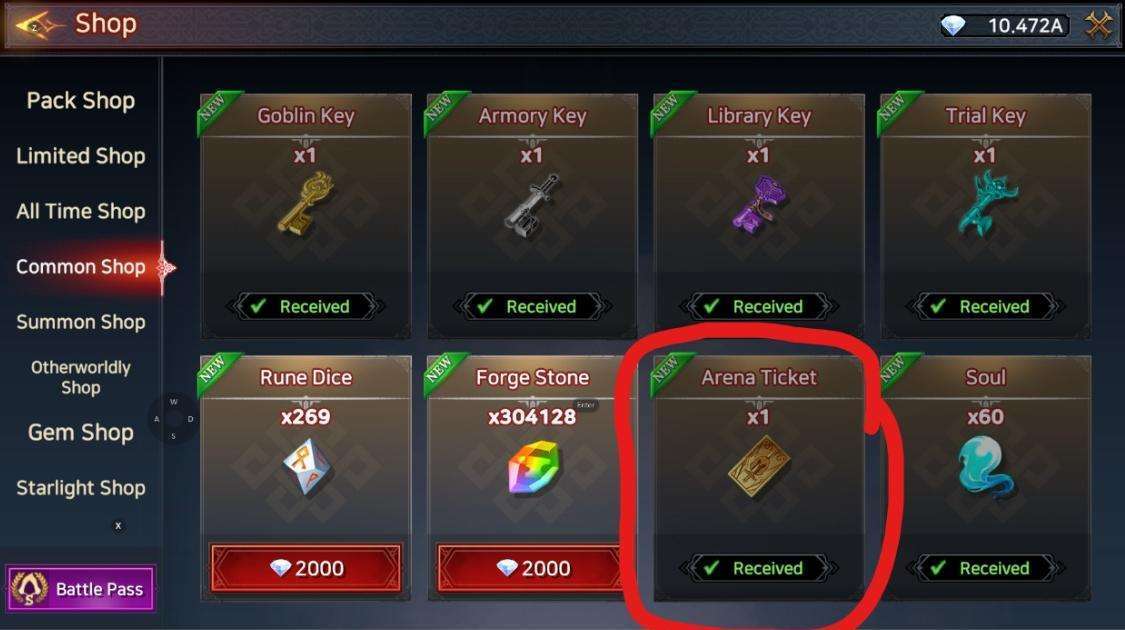
You have the option to refresh the list of opponents you can fight as well at the bottom. You gain 3 “arena free tickets” daily (the blue ones) and can purchase 3 “arena tickets” ( the yellow ones) from the common shop. That’s at least 6 tickets per day to use in the arena. It will take no more than 4 days to complete this quest.

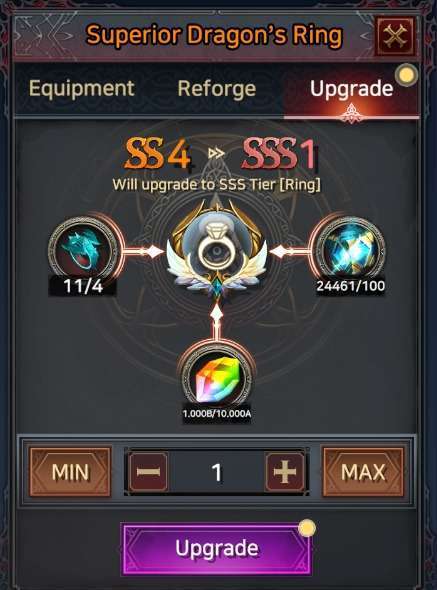
Complete SSS Gear Setup
SSS is the best gear you can get right now. There are two complete sets: “Tyrant Ghost” and “Archmage’s Sealed Arcane Core” (ASAC). To see which piece belongs to which set, just click on it and look for the green text below. To get the set bonus, you need all 5 armor pieces from the same set plus any SSS weapon.
To create SSS equipment, you need:
- 4 pieces of SS4 gear of the same type (you can get these from Loot chests, summoning, Cursed Armory, or event shops).
- 10 A-grade Forge Stones (from shops or Cursed Armory dungeon).
- 100 Master Fragments (from shops or Cursed Armory dungeon level 33+).
For example, to make a SSS1 sword, you need 4 SS4 swords (called “Superior Redelav” in the game). Most players don’t use the actual names of gear unless it’s SSS-tier stuff.


Notes
- Refer to the FAQ for more information on the Lust server.
If your main account is connected to the Wrath server, there is no way to do the Lust Only missions. “Lust only” refers to the new server that was released in mid-December. To check what server your account is connected to, go to the settings in game and look under your characters name and above the UID. It will say either [Wrath] or [Lust]. You are welcome to make a new account using a new email and immutable, but those ORBs will just go to that newly made account. You cannot transfer server and you cannot use the same immutable.